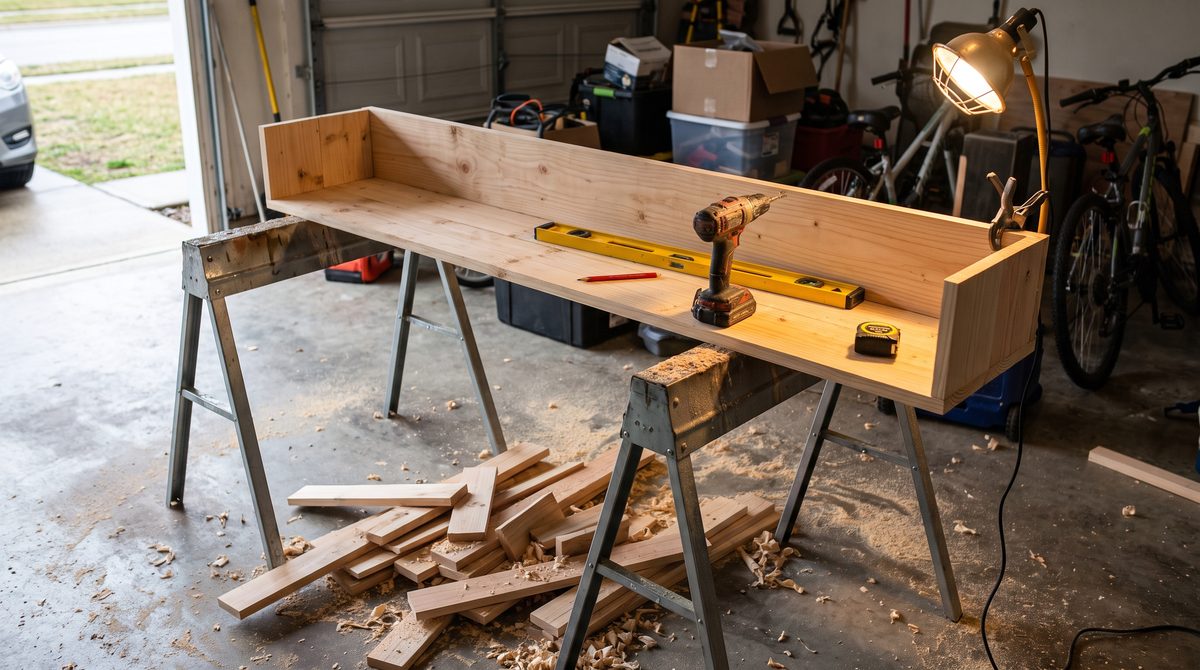
The question isn't whether you can build something worth having in a weekend. It's which project actually fits the tools you own, the skill you have right now, and the two days you're willing to give up. Some of the ideas below are genuinely a Saturday. A couple are only honest as a two-weekend job, and it's worth knowing which is which before you start pulling boards off a truck.
Build a wall-mounted bar shelf
A single shelf with a rail or lip for bottles is a beginner project: a length of solid wood or good plywood, a couple of heavy-duty shelf brackets, a level, and a drill. Find the studs, mount into them, and you're done in an afternoon. A drop-down bar top that folds flat against the wall is a bigger step up. It needs a folding support arm or piano hinge rated for the weight, and you have to think through what happens when it's loaded with bottles and glasses at full extension, not just when it's empty. Budget a full day for the drop-down version, and check the hinge hardware's rated weight against what you actually intend to put on it. The mistake that ruins this one is mounting into drywall alone. A shelf that holds a few bottles when you test it will pull straight out of the wall once it's loaded and someone leans on it.
Hang floating shelves that can actually hold weight
Floating shelves fail for one reason almost every time: the anchoring wasn't rated for the load. If you can hit wall studs with the mounting hardware, do it. If the shelf has to land between studs, use toggle bolts or another anchor genuinely rated for the weight you plan to put on it, not the plastic anchors that come in the shelf's own hardware bag. Check the anchor's weight rating against books, speakers, or whatever you're actually storing, not against an empty shelf. This is a one-afternoon project once you've found your studs and bought the right hardware. The mistake is leveling the bracket by eye and only discovering the shelf tilts once everything is sitting on it.
Build a simple storage bench or seat
A plywood box with a hinged lid gives you seating and hidden storage in one piece, and it's forgiving for a first furniture build. Basic butt joints and screws will hold; pocket screws make the joints tighter and less visible if you have or can borrow a pocket-hole jig. Add a piano hinge across the full width of the lid rather than two small hinges, and use a hinge support strut or a simple prop so the lid doesn't slam on fingers. Realistically this is a full weekend if you're adding a cushion or a paint or stain finish, and a single day if you leave it as bare plywood. The mistake that ruins it is skipping the lid support and having something heavy and sharp-edged crash shut on someone's hand the first week.
Add a reclaimed timber accent wall, with eyes open
Reclaimed wood on one wall is worth including in this list, but it deserves an honest caveat: pallet-style plank walls are an easy way to date a room to around 2015, and it's worth deciding you're fine with that look rather than assuming it reads as timeless. If you still want it, screw furring strips to the wall as a backing frame so the boards have something solid to attach to, then plan your board layout before you start nailing anything down. The real time cost isn't the install, it's the prep: sanding rough boards, checking for embedded nails or staples before you cut into them, and sealing the wood. Treat sourcing and prepping raw pallet wood as its own weekend and the install as a second one. If you buy pre-milled reclaimed boards instead of scavenging pallets, you can usually collapse this back into a single weekend.
Mount the TV properly and get the cables out of sight
This is less glamorous than it sounds and it's the project most likely to be done badly. Find the studs and use a mount rated for your TV's weight, not just its screen size. Mount at a height where the center of the screen sits roughly at eye level for how you'll actually be sitting, which in most rooms is lower than people expect once a couch or recliner is involved. Before you drill anything, confirm where your nearest outlet is and plan your cable route, whether that's an in-wall cable kit or a surface raceway, so you're not improvising after the TV is already up. This is a one-day project for the mount and cables together. The mistake that ruins it, consistently, is mounting too high because the wall looked empty and the TV looked small standing next to it, then living with a stiff neck every time you watch something.
Build a dartboard surround and backing board
If you already have the wall space, this is a short, satisfying build: a plywood backing panel a good margin wider than the board itself, mounted so stray darts hit wood instead of drywall. What actually decides whether the setup is playable is getting the height and distance right. For steel-tip darts, the standard is a bullseye height of five feet eight inches from the floor and a throwing distance of seven feet nine and a quarter inches measured from the face of the board. Measure and mark both before you hang anything. This is an afternoon project once the wall is clear. The mistake that ruins it is eyeballing the height or cramming the throwing line into a shorter space than the game actually needs, which makes the board frustrating to use instead of something people want to play.
Upgrade the lighting without calling an electrician
You don't need to open a wall to change how a room feels. Plug-in wall sconces, adhesive LED strip lighting with its own power supply, and a few well-placed floor or table lamps on smart plugs will do more for the mood of the room than a single overhead fixture ever will. This is an evening's work, not a weekend, since most of it is placement and cable routing rather than construction. The mistake is running too many plug-in fixtures off one outlet or a single extension cord. Spread the load across outlets and check what each one is rated for before you plug in a run of lighting alongside a TV, console, and mini fridge.
Paint the ceiling dark
In a basement with a low ceiling, painting it a dark, flat color usually reads as more finished than leaving it white, because the ceiling stops drawing the eye upward and any ductwork, pipes, or uneven texture up there recedes instead of standing out. A flat or matte dark paint absorbs light rather than reflecting it, which is part of why it works. This is a one-day project including furniture protection and two coats, assuming the ceiling doesn't need patching first. The mistake is choosing a satin or gloss sheen, which does the opposite of what you want and highlights every seam and imperfection instead of hiding them.
What to do first
Before you buy anything, find your studs and mark them on the wall you're planning to use. Every project on this list that fails does so at the anchoring stage, whether that's a shelf, a bar top, or a TV mount, and knowing where your studs actually are changes what you buy and how you plan the layout before you've spent a single dollar on lumber.