Why you should plan this on screen before you buy anything
The most expensive mistake in a man cave build is not a bad paint color. It is a sectional that does not fit through the doorway, a bar that blocks the path to the bathroom, or a projector screen that ends up six inches short of where the seating actually needs to be. None of those show up until the furniture is in the room and it is too late to send it back without a fight. A layout on screen, or on paper, costs you an evening. A layout that fails in real life costs you a return fee, a rearranged weekend, and possibly a hole in the drywall.
Planning first is not about making a pretty rendering. It is about catching the failure before you have paid for it. Whether you do that with dedicated software, a manufacturer's tool, or a pencil and graph paper depends on the room and how much certainty you need before you commit.
What to measure first, and how to do it properly
Every planning tool, free or not, is only as good as the numbers you feed it. Get the measurements wrong and the software will confidently tell you a layout works when it does not.
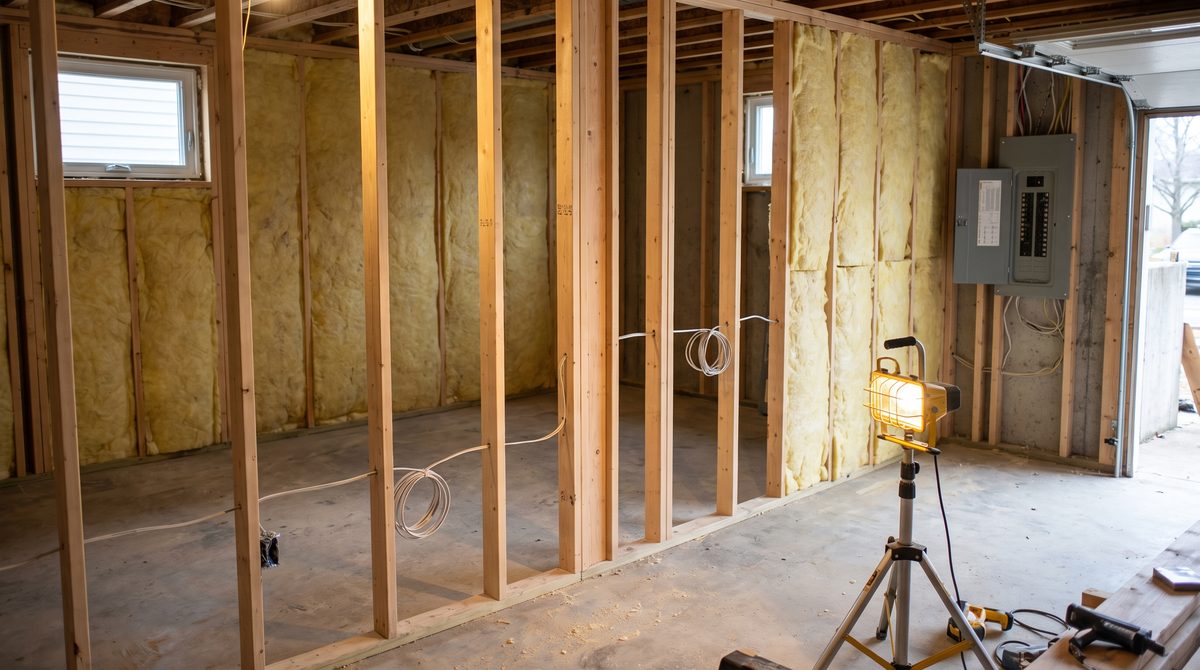
Start with the basics: the length and width of the room at floor level, and the ceiling height. Do not assume the room is a perfect rectangle. Basements and garages especially tend to have a wall that is out of square, or a jog around a stairwell, and a plan built on an assumed rectangle will be wrong exactly where it matters.
Then go looking for the things people forget, because these are what actually break a layout after the furniture arrives:
- Ceiling height at its lowest point, not just the average. Ductwork, beams, and dropped sections near a stairwell can take a foot off your usable height in one spot, which matters if you are hanging a projector screen or a mounted TV.
- Door swing, not just door width. A door that swings inward eats a quarter circle of floor space that nothing else can use. Measure the swing, not just the opening.
- Window positions and sill heights, especially if you are planning a bar, a bookshelf, or anything that sits against a wall at a fixed height.
- Outlets and switches, mapped to exact wall positions. You will place a TV, a sound system, and probably a mini fridge, and moving an outlet after the room is finished is a different job than planning around one that already exists.
- Vents and returns. Blocking a supply vent with a couch or a cabinet is one of the more common ways a finished basement ends up too hot or too cold in one corner.
- Obstructions, including support posts, soffits, and any low bulkhead running across the ceiling. These are the features people leave off a rough sketch and then discover mid-build.
Get these on paper, even roughly, before you touch any software. A tool that produces a beautiful plan from wrong measurements is worse than no plan at all, because it gives you false confidence.
How to measure a room without special equipment
A tape measure and a notepad handle this for almost any man cave. Measure wall to wall at a consistent height, note where each door, window, vent, and outlet falls along that wall, and sketch the shape roughly to scale before you enter anything digitally. If a wall is not straight, measure it in the segments that actually describe its shape rather than forcing one number on it.
Where RoomSketcher fits
RoomSketcher is a floor planning tool built around laying out a room in two dimensions and generating a 3D view from that plan. It belongs to a category of software aimed at people who want to see a room to scale without learning full design software: you draw walls, place doors and windows, and then drop in furniture from a built-in library to test how a layout actually sits.
It suits someone planning a single room who wants an accurate, scaled floor plan and a rough sense of how it will look, without investing time in a CAD program built for professionals. That is genuinely useful for a man cave: you can drag a sectional, a pool table, and a bar into the space and see immediately whether they physically fit together, which is the exact question most people are trying to answer.
Where a tool like this stops being useful is in the details a floor plan cannot carry. It will show you that a couch fits in a corner. It will not tell you whether that corner has good sightlines to a TV, whether a support post is going to block the view from one end of the room, or how the space will actually sound with a hard floor and a bare ceiling. Treat it as a fitting tool, not a finished design.
The broader categories, and what each one is actually for
RoomSketcher is one example of a wider set of tools, and picking the right category matters more than picking a specific product.
2D floor planners are for confirming that things fit. Draw the room to scale, place furniture as scaled shapes, and check clearances. This is the fastest way to answer "will this all fit in here" and is usually enough for a single-room project.
3D room visualisers add a rendered view on top of a floor plan, letting you see walls, flooring, and furniture in perspective rather than from above. Useful if you are trying to sell yourself, or someone else in the house, on a finished look. Less useful for solving clearance problems, since the 2D plan underneath is still doing that work.
Manufacturer room planners, offered by some furniture and appliance retailers for their own product lines, let you place their catalog items at correct dimensions inside a room you define. Worth using once you already know which brand you are buying from, since the sizing will be exact rather than approximate.
Graph paper is still genuinely the fastest option for a single room. A quarter-inch grid where each square equals a foot, a ruler, and cutout paper shapes for your major furniture pieces will answer the fit question in twenty minutes with zero software learning curve. For one room with a handful of furniture pieces, this often beats any digital tool on time spent per answer gained.
Test the layout before you commit
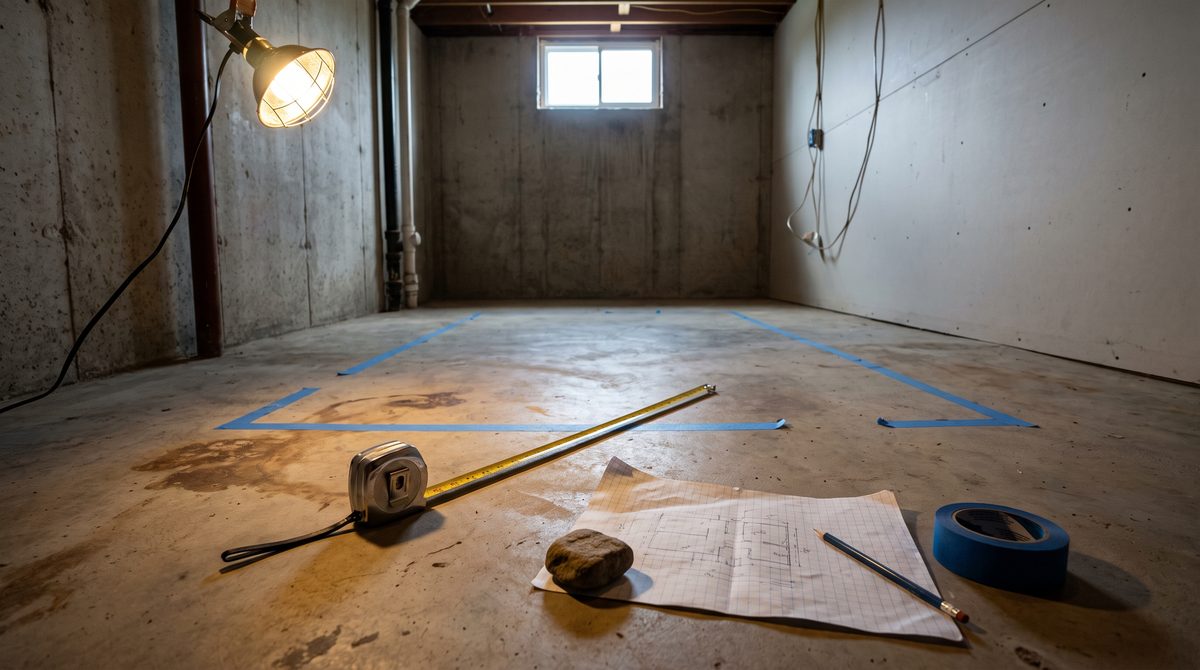
Whatever tool you used to plan, test the plan in the actual room before you buy or move anything permanent. The single most useful trick, and it costs nothing, is taping the footprint of major pieces directly onto the floor using painter's tape. Mark out the couch, the pool table, the bar, and walk the room as if it were finished. You will notice things a screen never shows you: a walkway that feels tighter than the numbers suggested, a door that is awkward to open with the tape line where you planned, a sightline to the TV that is worse from the actual seating position than it looked from above.
What no planner will tell you
Every one of these tools, from the most detailed 3D software down to graph paper, has the same blind spot. None of them tell you about sightlines from where you will actually sit, how sound behaves in a room with hard surfaces and a low ceiling, how well traffic flows once people are standing around with drinks in hand, or where daylight falls at different times of day. Those come from standing in the room, and from walking the taped-out layout before anything is final.
What to do first
Measure the room properly, including ceiling height at its lowest point, door swings, and every outlet and vent, before you open any software. Sketch that to scale on graph paper first. If the room and the furniture list are simple, that sketch may be all you need. If you want to see it from more angles or double check a tighter fit, move the same measurements into a 2D floor planner like RoomSketcher. Either way, finish by taping the footprint on the actual floor before you buy anything.